


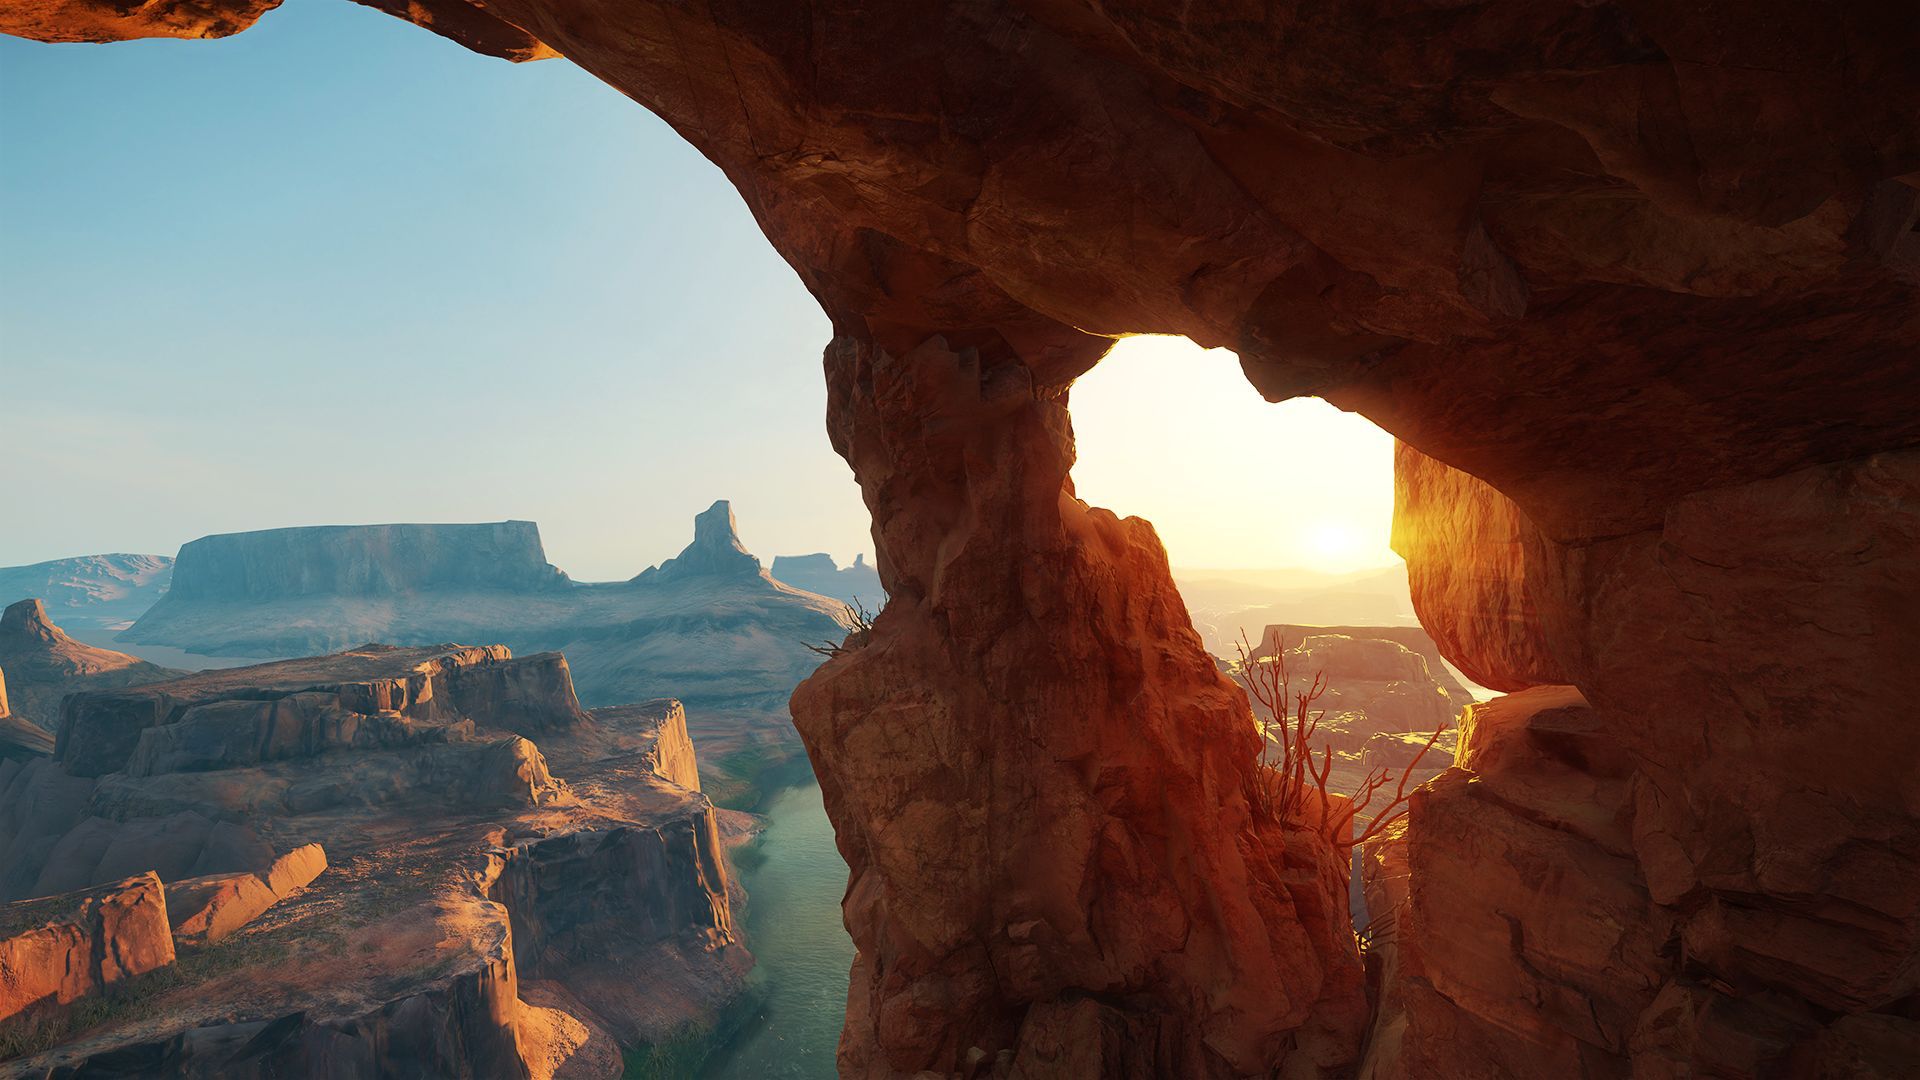
What you see is what you get: Sandbox allows you to create seamless worlds without any baking. Create your world and export to a game as you see it in the Editor.
Fully realtime dynamic global illumination with a fully PBR workflow allows you to create ultra realistic environments using the tools you're used to.
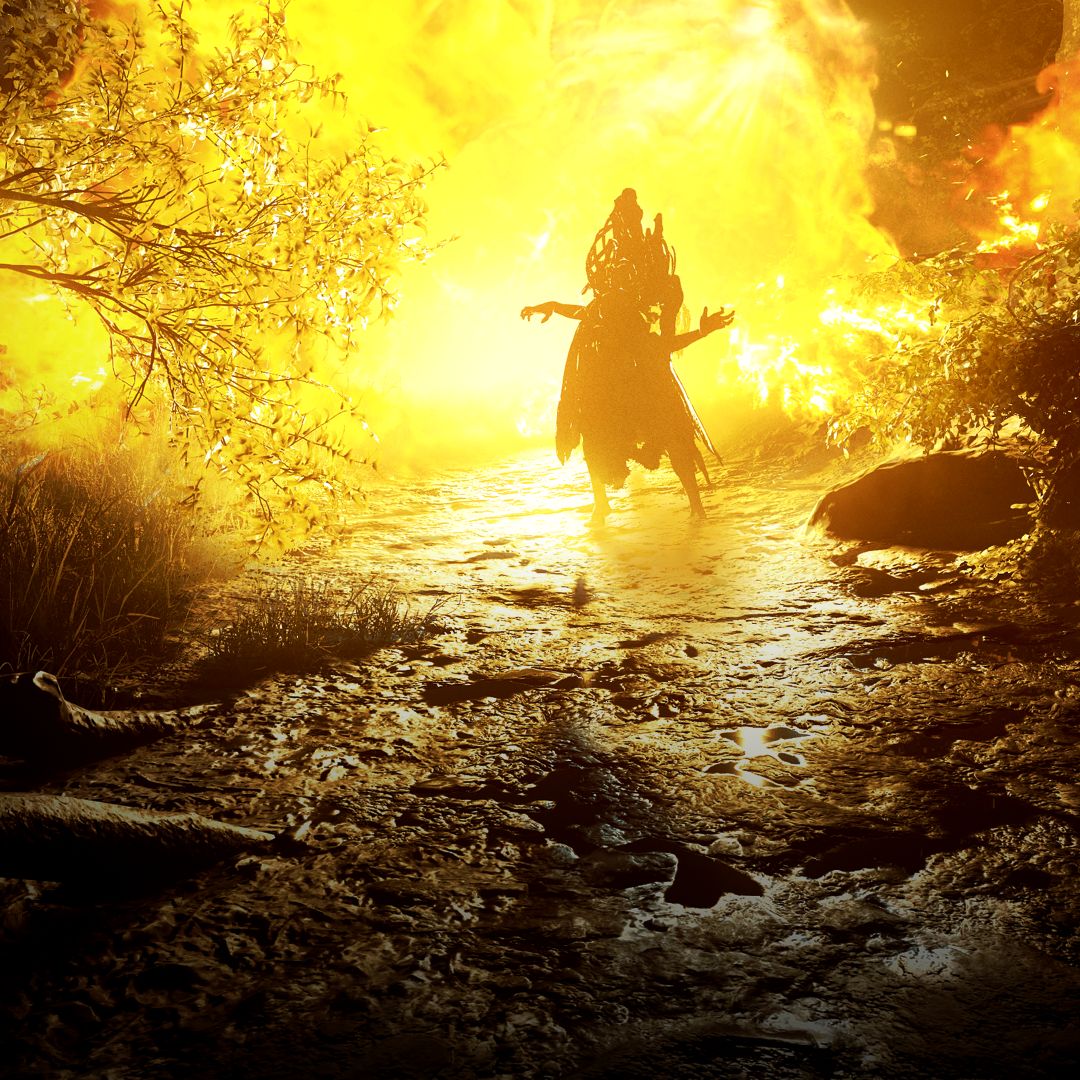
Physical simulations that take into account real world physical properties in a realistic manner to provide easily configurable and dynamic scenes.
Use CRYENGINE's exclusive Audio Translation Layer that allows you to choose the middleware you want, when you want. Allowing for workflows that work for you.


CRYENGINE 5.6 comes with significant improvements. New tools and enhancements make the game development process more intuitive than ever before.

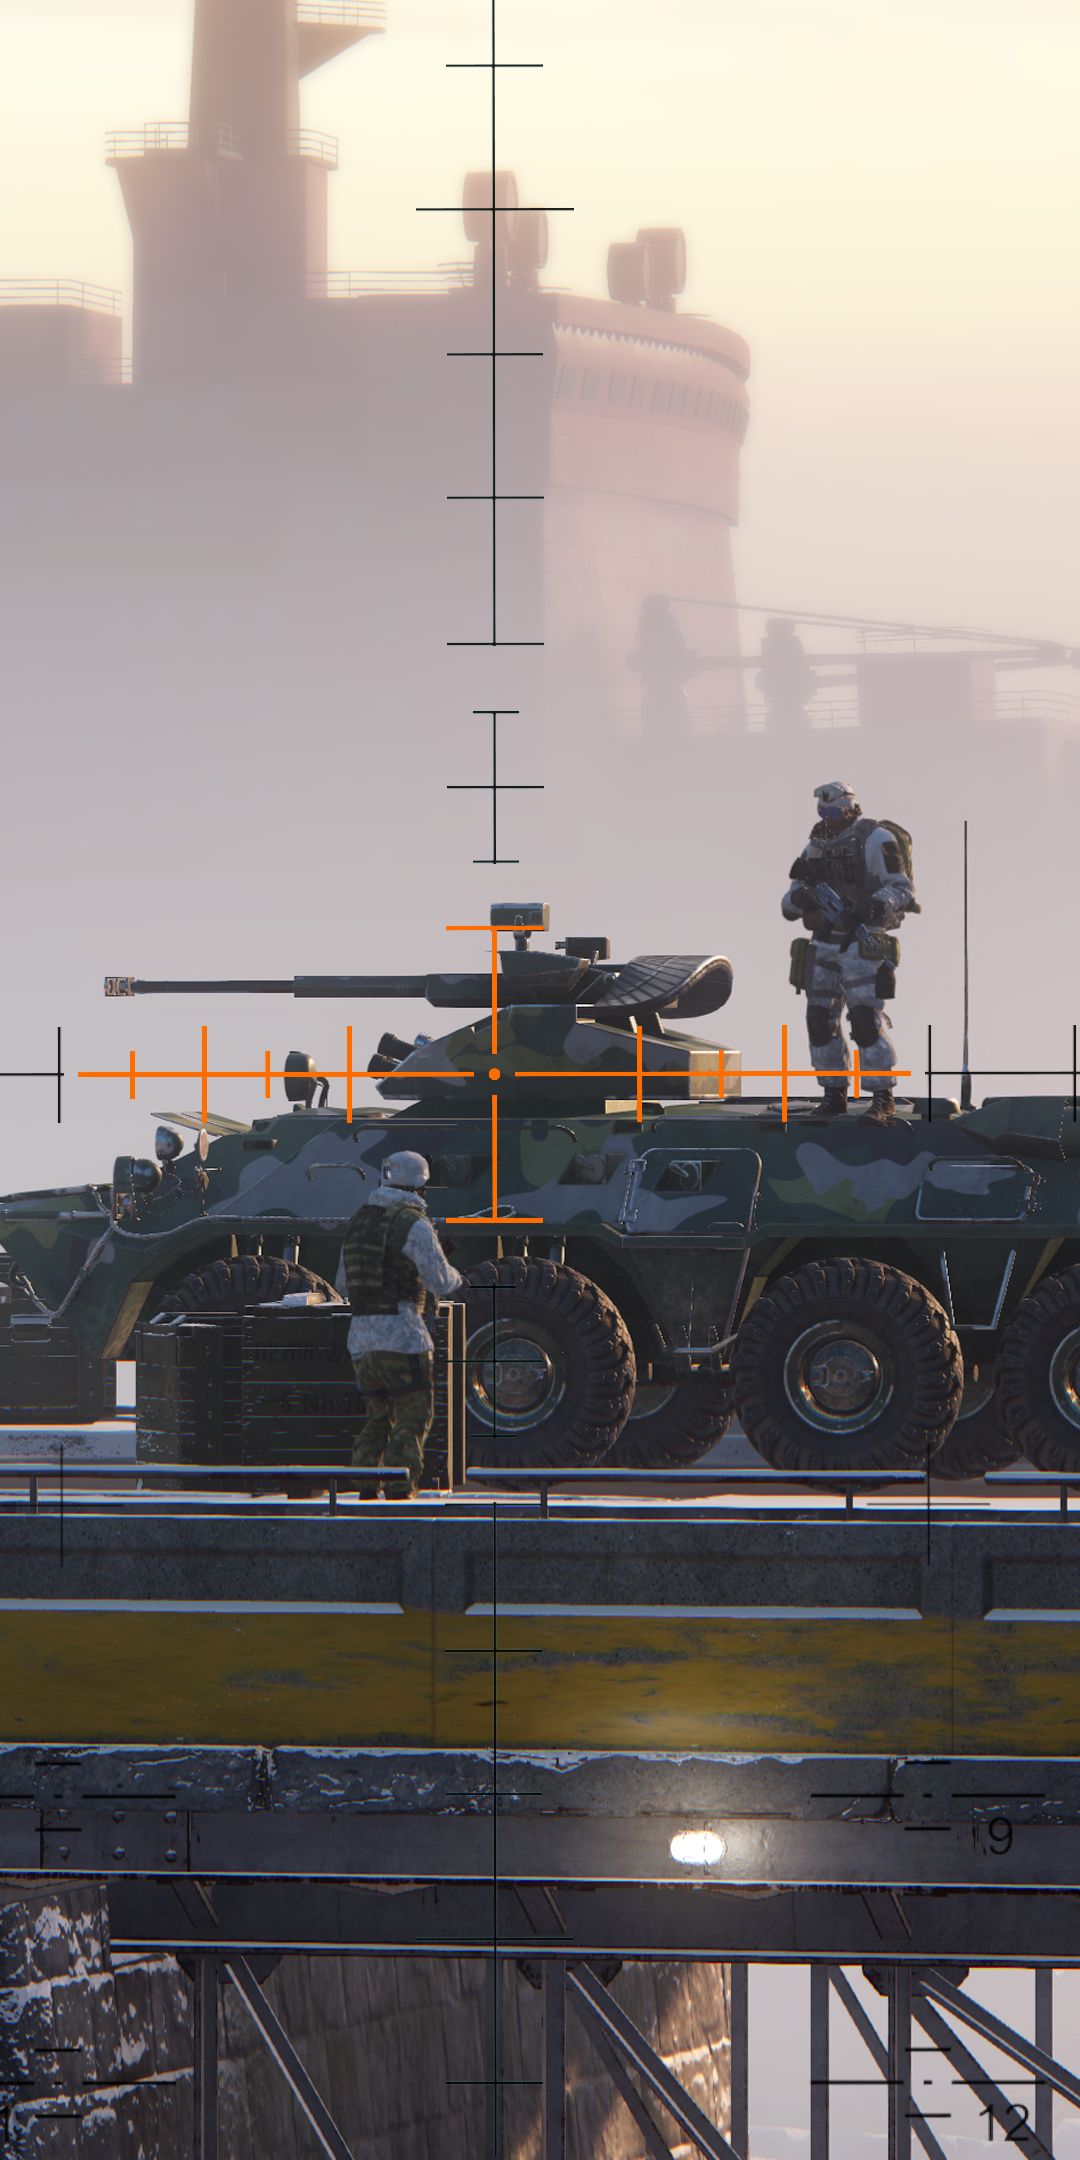
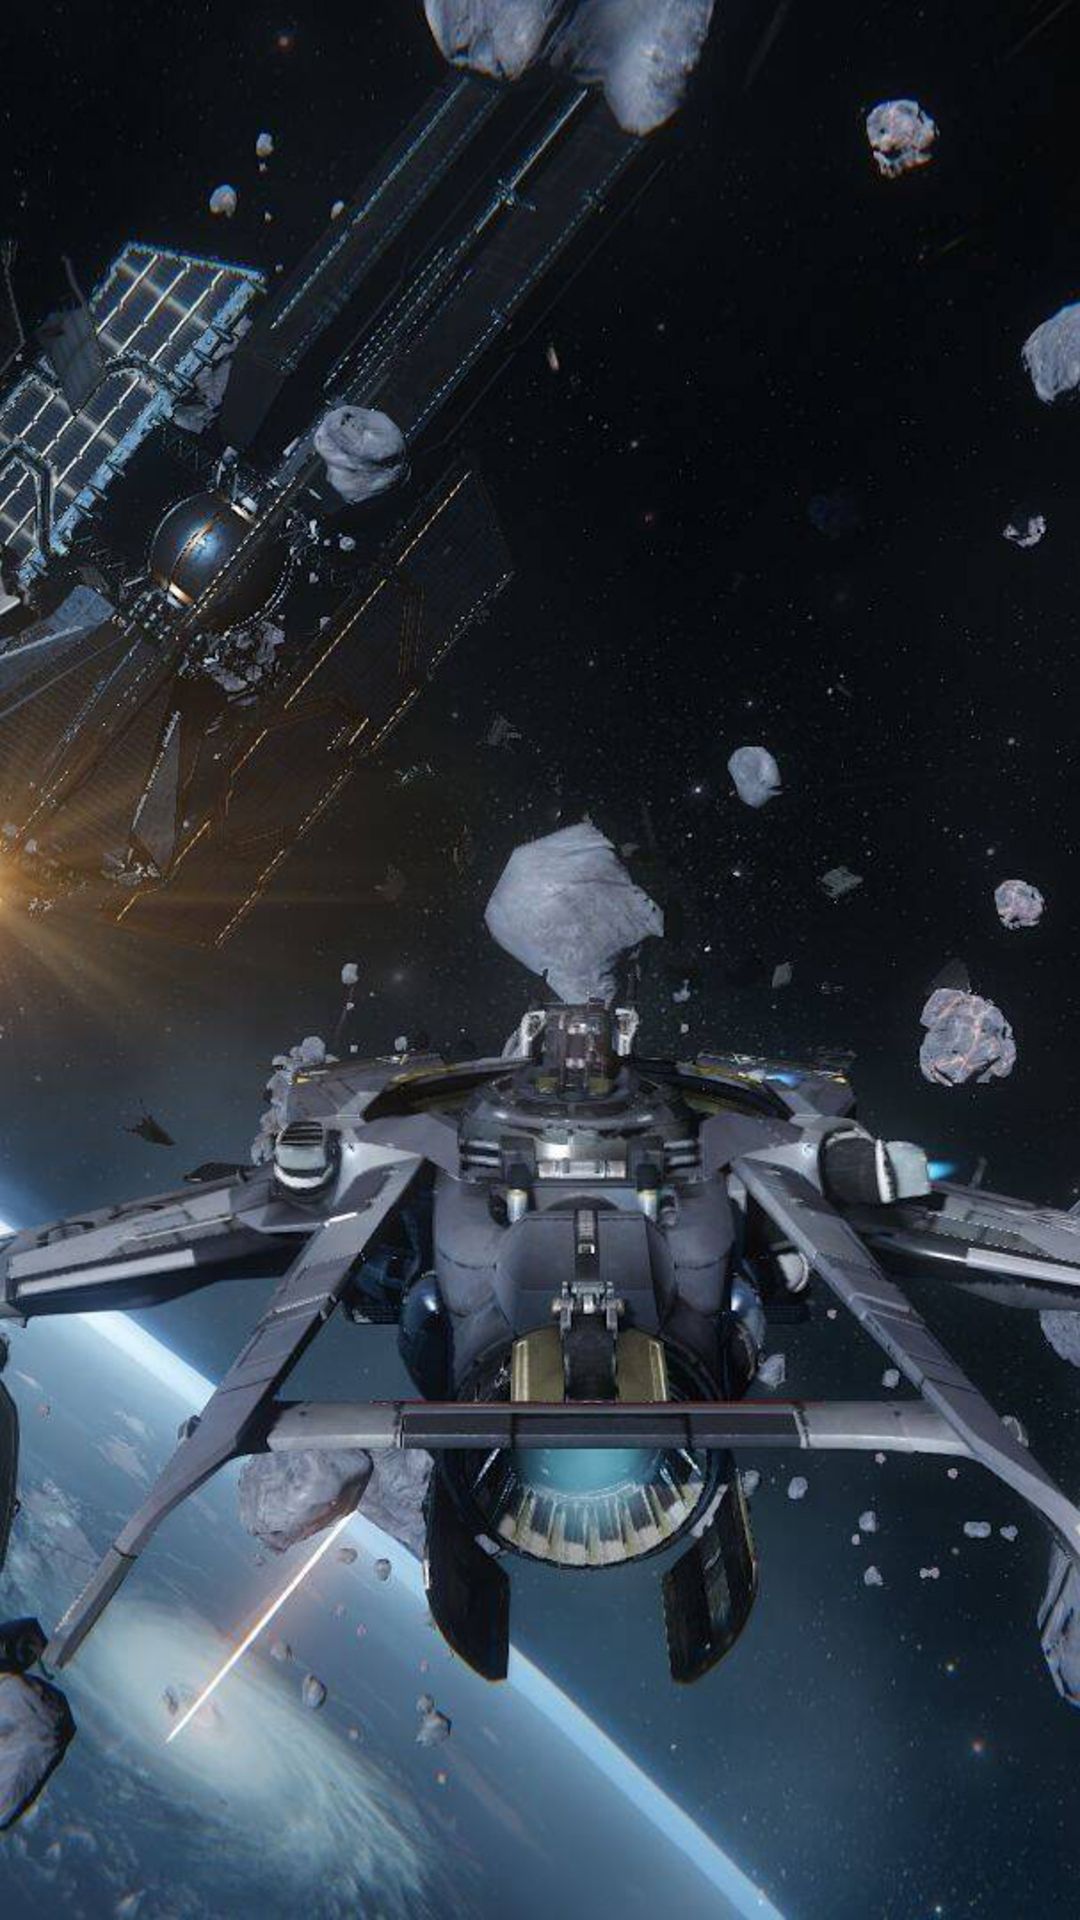
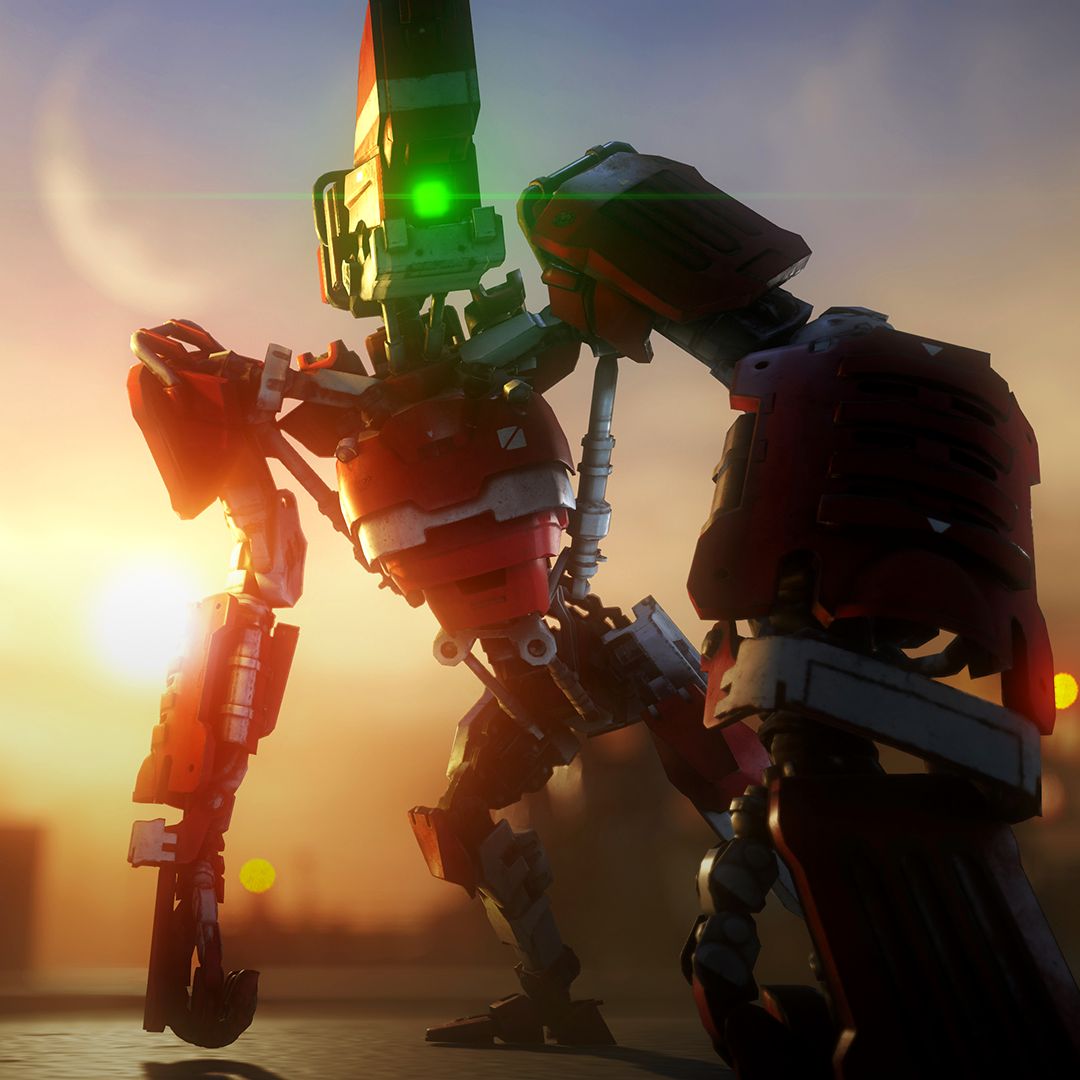
Access the latest version of the engine behind visual benchmark titles like the Crysis series and Hunt: Showdown. Use the same tools as our internal teams.
Use CRYENGINE for free. 5% royalty applies when you ship your project. Your first $5K annual revenue per project is royalty-free.